My name is Heidi Philip-Smith and I’m a 3x UK Latte Art finalist & 2017 World Latte Art competitor. I have been lucky enough to work with some of the UK’s leading latte artists including 6x UK champ Dhan Tamang and ‘latte art legend’ Barista Benji. In this short blog I will be giving my top 10 tips on how to perfect your latte art.

1. The first thing you need to do is get yourself a perfectly extracted espresso. I won’t go into too much detail as perfectly extracting an espresso needs a blog of its own. We would recommend using our ‘End of the Road’ blend (Colombia & Brazil). This coffee has great body and a fantastic crema, this will help enhance your contrast and ease of pouring.
2. Find some full cream fresh milk, ensure your milk is chilled straight from the fridge this gives you more time to create the perfect micro foam. If you’re not into the cow juice, we recommend Rude Health or Oatly.
3. The perfect milk pitcher needs a sharp symmetrical spout and a comfortable handle. I recommend the ‘Barista Swag ultra sharp 2.0’. These can be costly compared to your average milk pitcher, but well worth it!
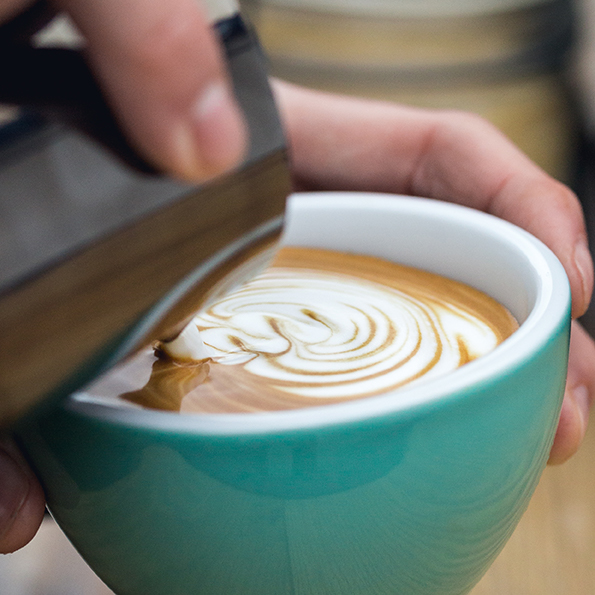
4. To improve latte art dramatically, use the correct amount of milk that you need to fill your cup. The less milk in your jug the more control you will have when pouring. If you have too much milk, you will find yourself over filling your cup and losing control of the pour. If you’re struggling to grasp the correct amount of milk for your cup, get a Barista Hustle pitcher which has fill markers on the inside of the jug.
5. Stretching your milk correctly. You need to create a tight micro-bubble structure when aerating milk, the surface should be glossy with no bubbles. Heat the milk to a final temperature of 60-65 degrees. If you hear screeching whilst texturing your milk you have not added enough air, If you hear rumbling you have most likely exceeded the guideline temperatures and are now burning your milk.
6. The cups handle always has to be on the right hand side! You would be surprised as to how many people forget this. What’s the point of pouring beautiful latte art if it’s upside down when you present it to your customer.
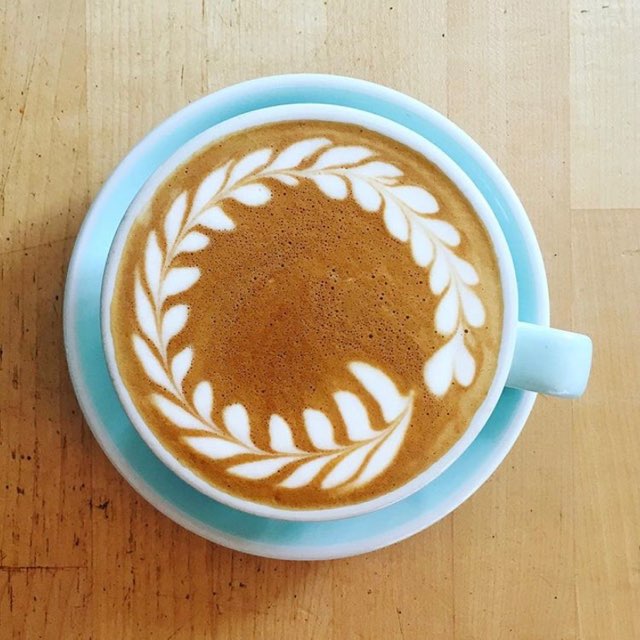
7. Proximity and angles: Pour high to start, raising the crema to the top. When 3/4 full bring your pitcher closer to the cup and push the rest of the milk out. Once you’ve achieved a pattern, raise your jug and cut through at a 40 degree angle. Try not to go too slow as the milk will begin to separate in the pitcher.
8. Begin with the basic shapes, hearts, tulips and rosettas. You’ll find these three shapes are the base to most of the complicated patterns. I always say to people training, try and pour as many rosettas into one cup as you can. This will help you gain control and give you an understanding of your own technique.
9. Want to start getting fancy and design your own latte art? Try etching, this technique Is great fun and gives the opportunity to produce any kind of images on your latte art. To do this, use the crema of the coffee and foam from the milk to draw on top of your coffee using a sharp etching tool, each time you make a stroke always clean it afterwards! See pic below as an example.
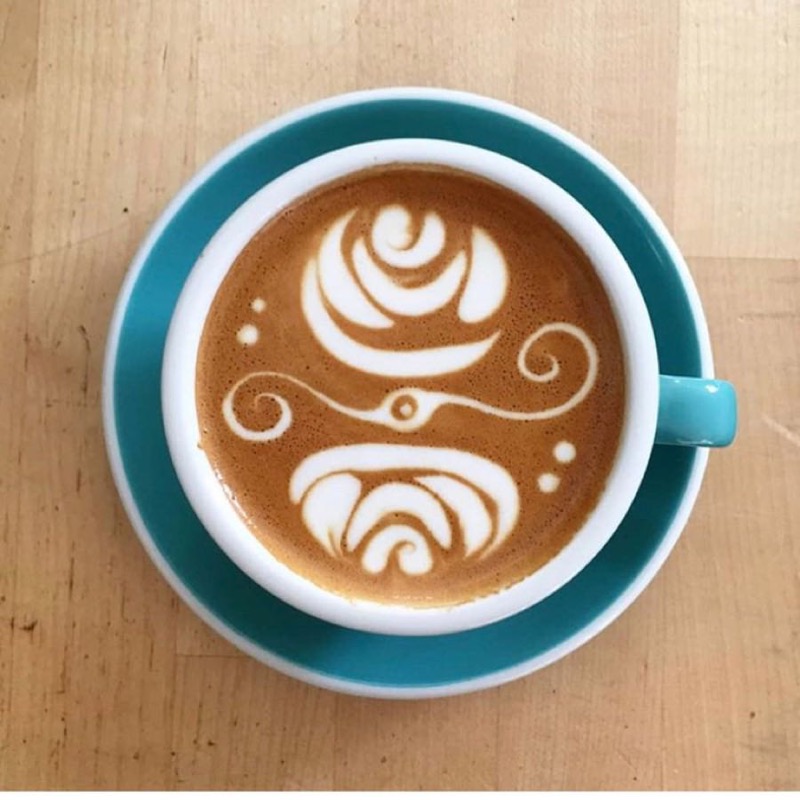
10. Lastly, Latte art is all about practice, practice, practice. If you wanted to go further and explore the next level of latte art, I offer one-to-one training sessions from beginner to advanced.
For all training enquiries email [email protected].
Follow the Journey! @routescoffee





0 Comments